Manage Fulfilled Resources
A Fulfilled Item type should be used for physical items that need to be “checked out.” A book or DVD are examples of Fulfilled Resource types.
Create a Fulfilled Resource
To create a Fulfilled Resource, go to Resources > Maintain Learning Resources and click New.
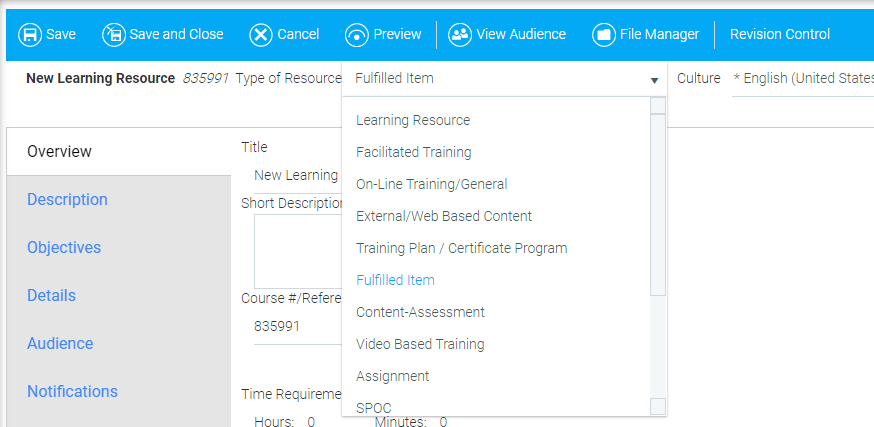
When the new resource opens, change the Type of Resource field at the top of the screen to Fulfilled Item.
On the Overview tab, under the Media drop-down menu, select the correct type of media (DVD, book, etc.). Only Media options that are already created in the system will appear in this drop-down. For instructions on how to create a Fulfilled Item see Add a New Media Type.
Go to the Details tab and the Inventory sub-tab. If you are using the Lending Library feature and you want the LMS to track the inventory for the resource, you must enter the inventory here and check the Track Inventory checkbox.
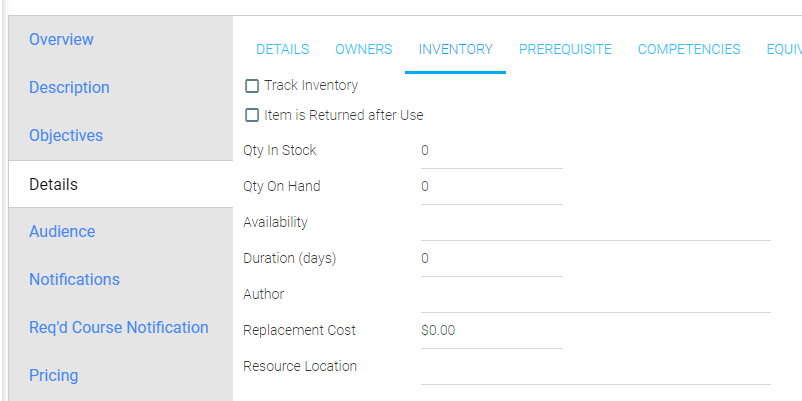
The settings available on this sub-tab are:
- Track Inventory
- Select this checkbox to have the LMS track the available quantity. When availability is 0, the Check Out button for the resource will become inactive.
- Item is Returned after Use
- Select this checkbox if the item will be loaned out for a period of time and then should be returned.
- Qty in Stock
- Enter the total number of items.
- Qty on Hand
- Enter the total number of items that are currently available to be loaned out. NOTE: When an item is lent out or returned, the LMS will automatically update the Qty On Hand field to accurately reflect the actual number of items currently available.
- Availability
- This is an optional free text field.
- Return Duration (days)
- Enter the number of days for which an item may be checked out. The LMS will use this number to track when an item becomes overdue. Overdue notifications can be automatically sent to users.
- Author
- If the resource has an author, fill it in here.
- Replacement Cost
- If a cost will be collected for lost items, fill in this field.
- Resource Location
- If the resource must be picked up, enter the location here.
Manage Fulfilled Items
The Manage Fulfilled Items screen allows an administrator to view all items that have been requested through the system and mark the requests as fulfilled once the item has been sent to the user. The default display will show all items that have been requested through the LMS in the past 30 days. Use the filters at the top to adjust the date range or to limit the results to only items that are still unfulfilled or fulfilled.
If an item's status is Unfulfilled, the user has requested the item, but it has not yet been sent to them.
If an item's status is Fulfilled, the administrator has sent the requested item. If the item can only be checked out for a specific number of days, the LMS will look at the Fulfilled Date when calculating when an item becomes overdue.

To mark an item as fulfilled, select the checkbox next to a user’s name and the requested item. At the bottom of the screen, select Fulfill Item from the Action drop-down and click Save.

If an item is no longer available and there are still outstanding requests for this item, you will need to Revoke the Request. T o do this, select Revoke Request from the Action drop-down.